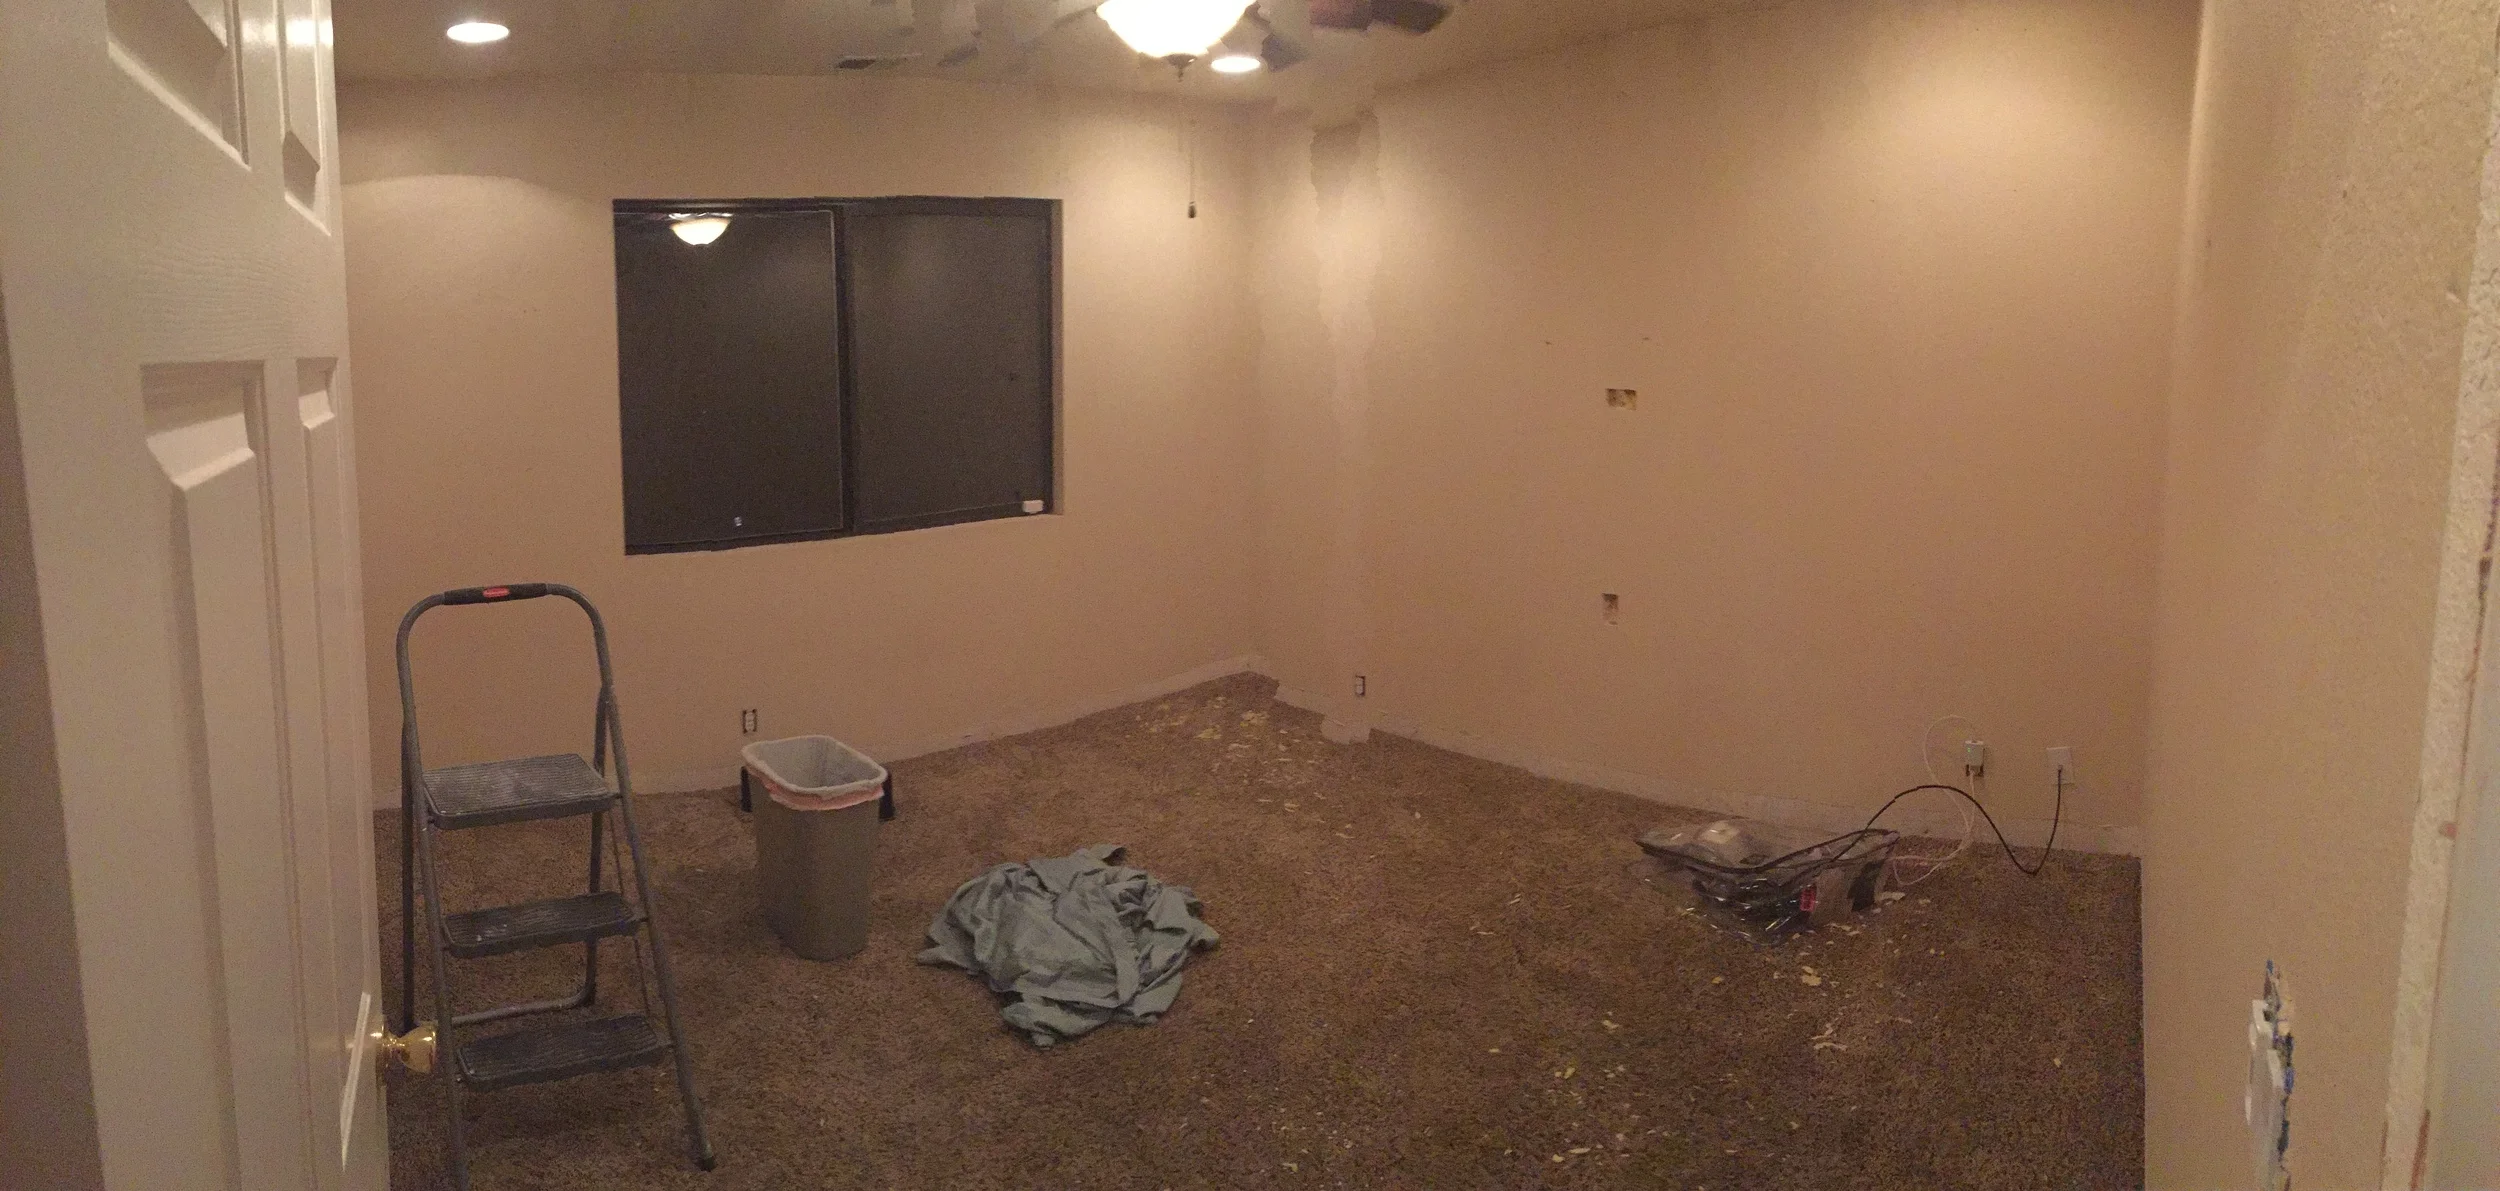
With the news of our fist child on the way it was time for My wife and I to step it into high gear remodeling the house. We have been talkiing about it for a while and mapped out many ideas on what we wanted to do for an overal feel throughout the house.
Most of the furniture I have already built is very county craftsman and that is a look we both enjoy. We decided to carry this through the rest of the home by updating the trim on all of the windows and doors with a craftsman style white trim, painting the walls from browns to grays and adding a "hardwood" look floor.
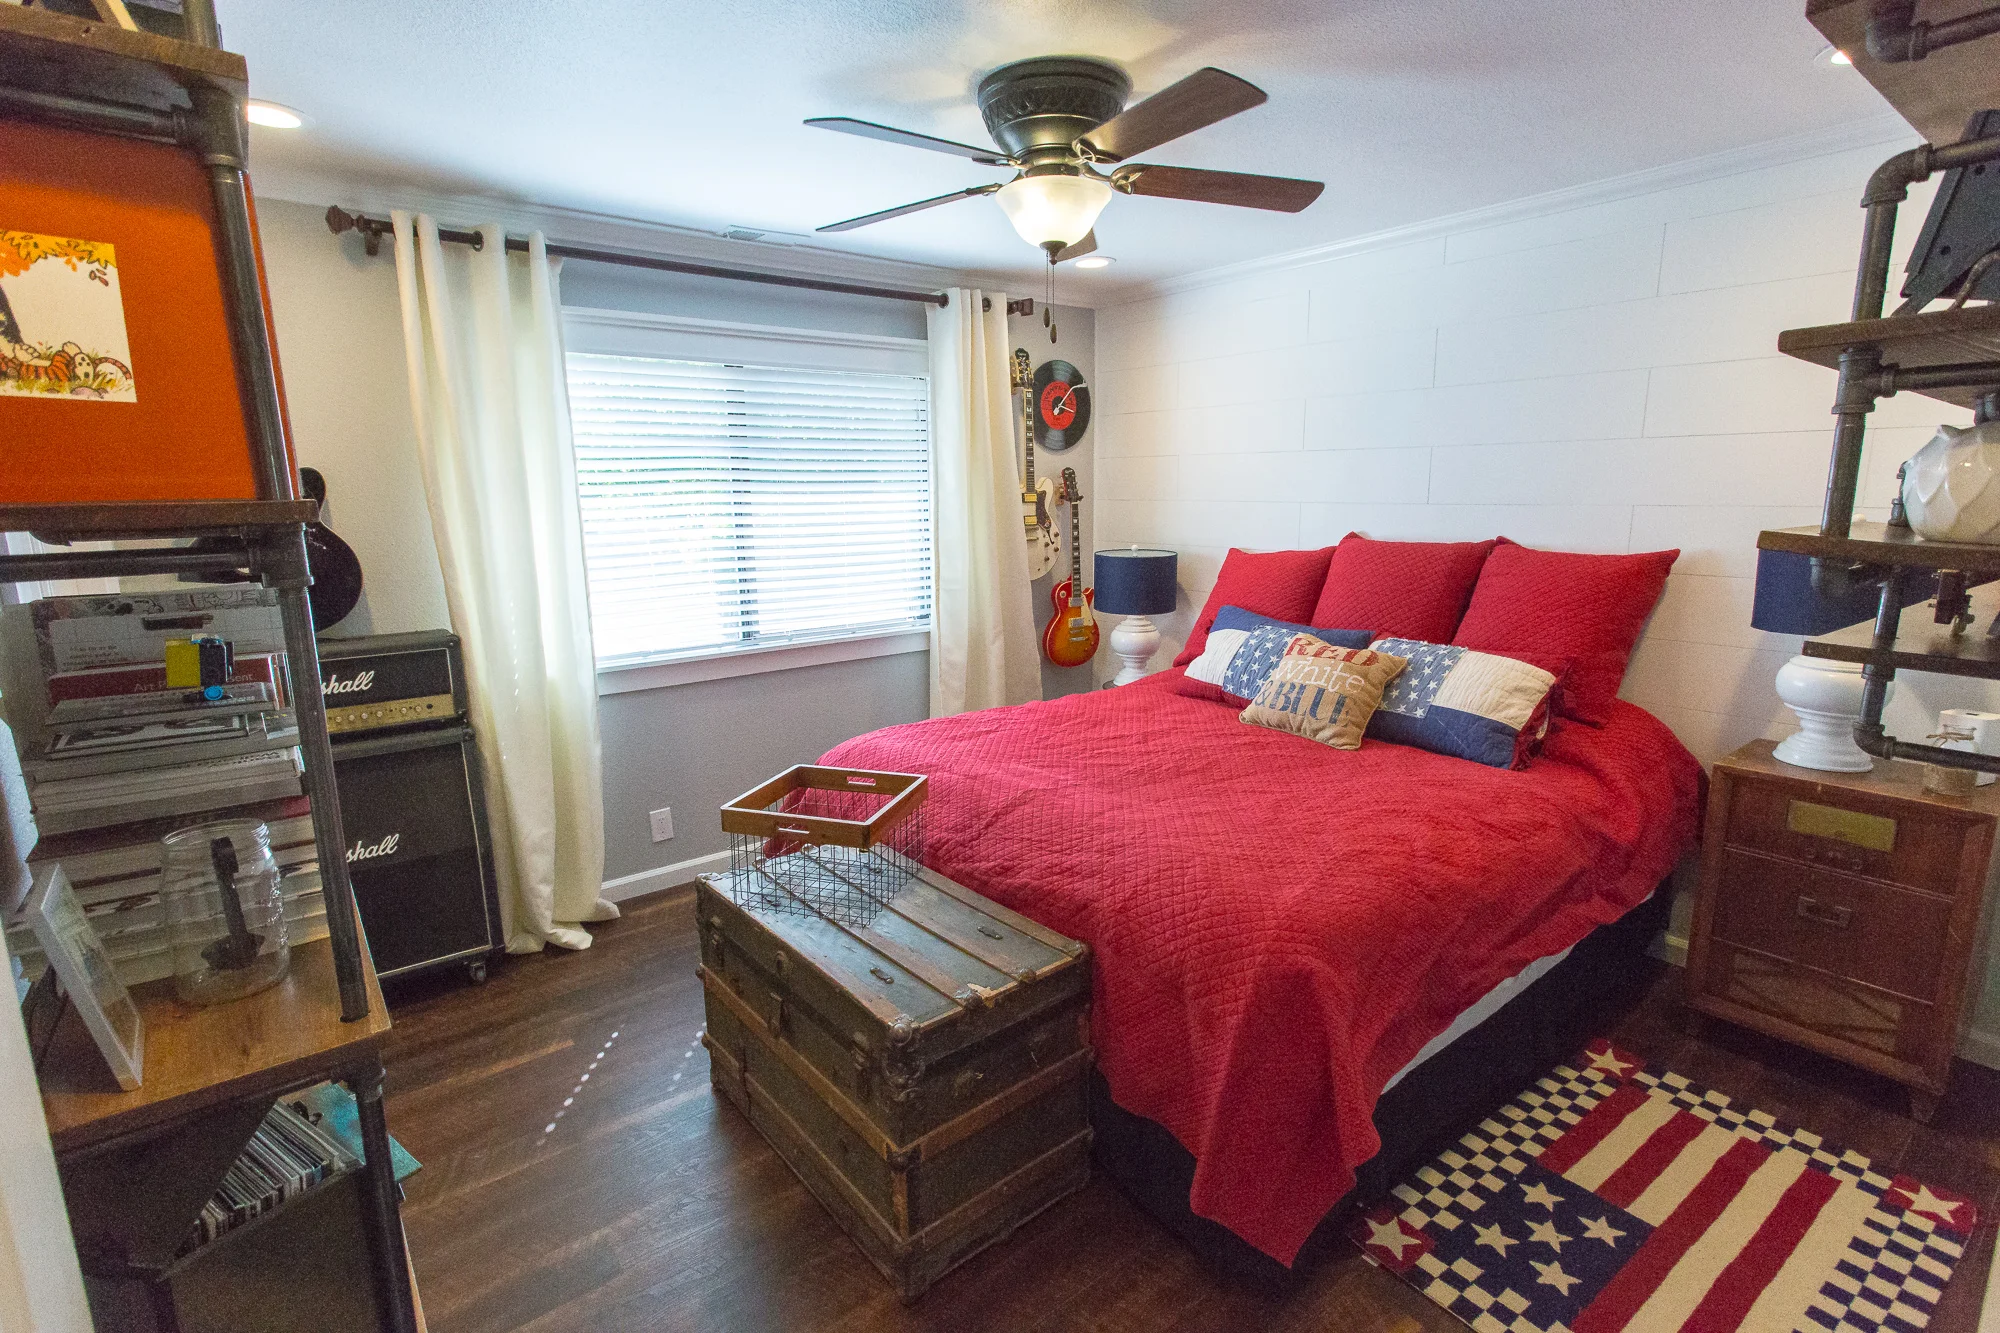
The first room on the list was the guest room. This would be a good start for us to test out the ideas we have and work out a pecking order for the next rooms making things a little more fluid.
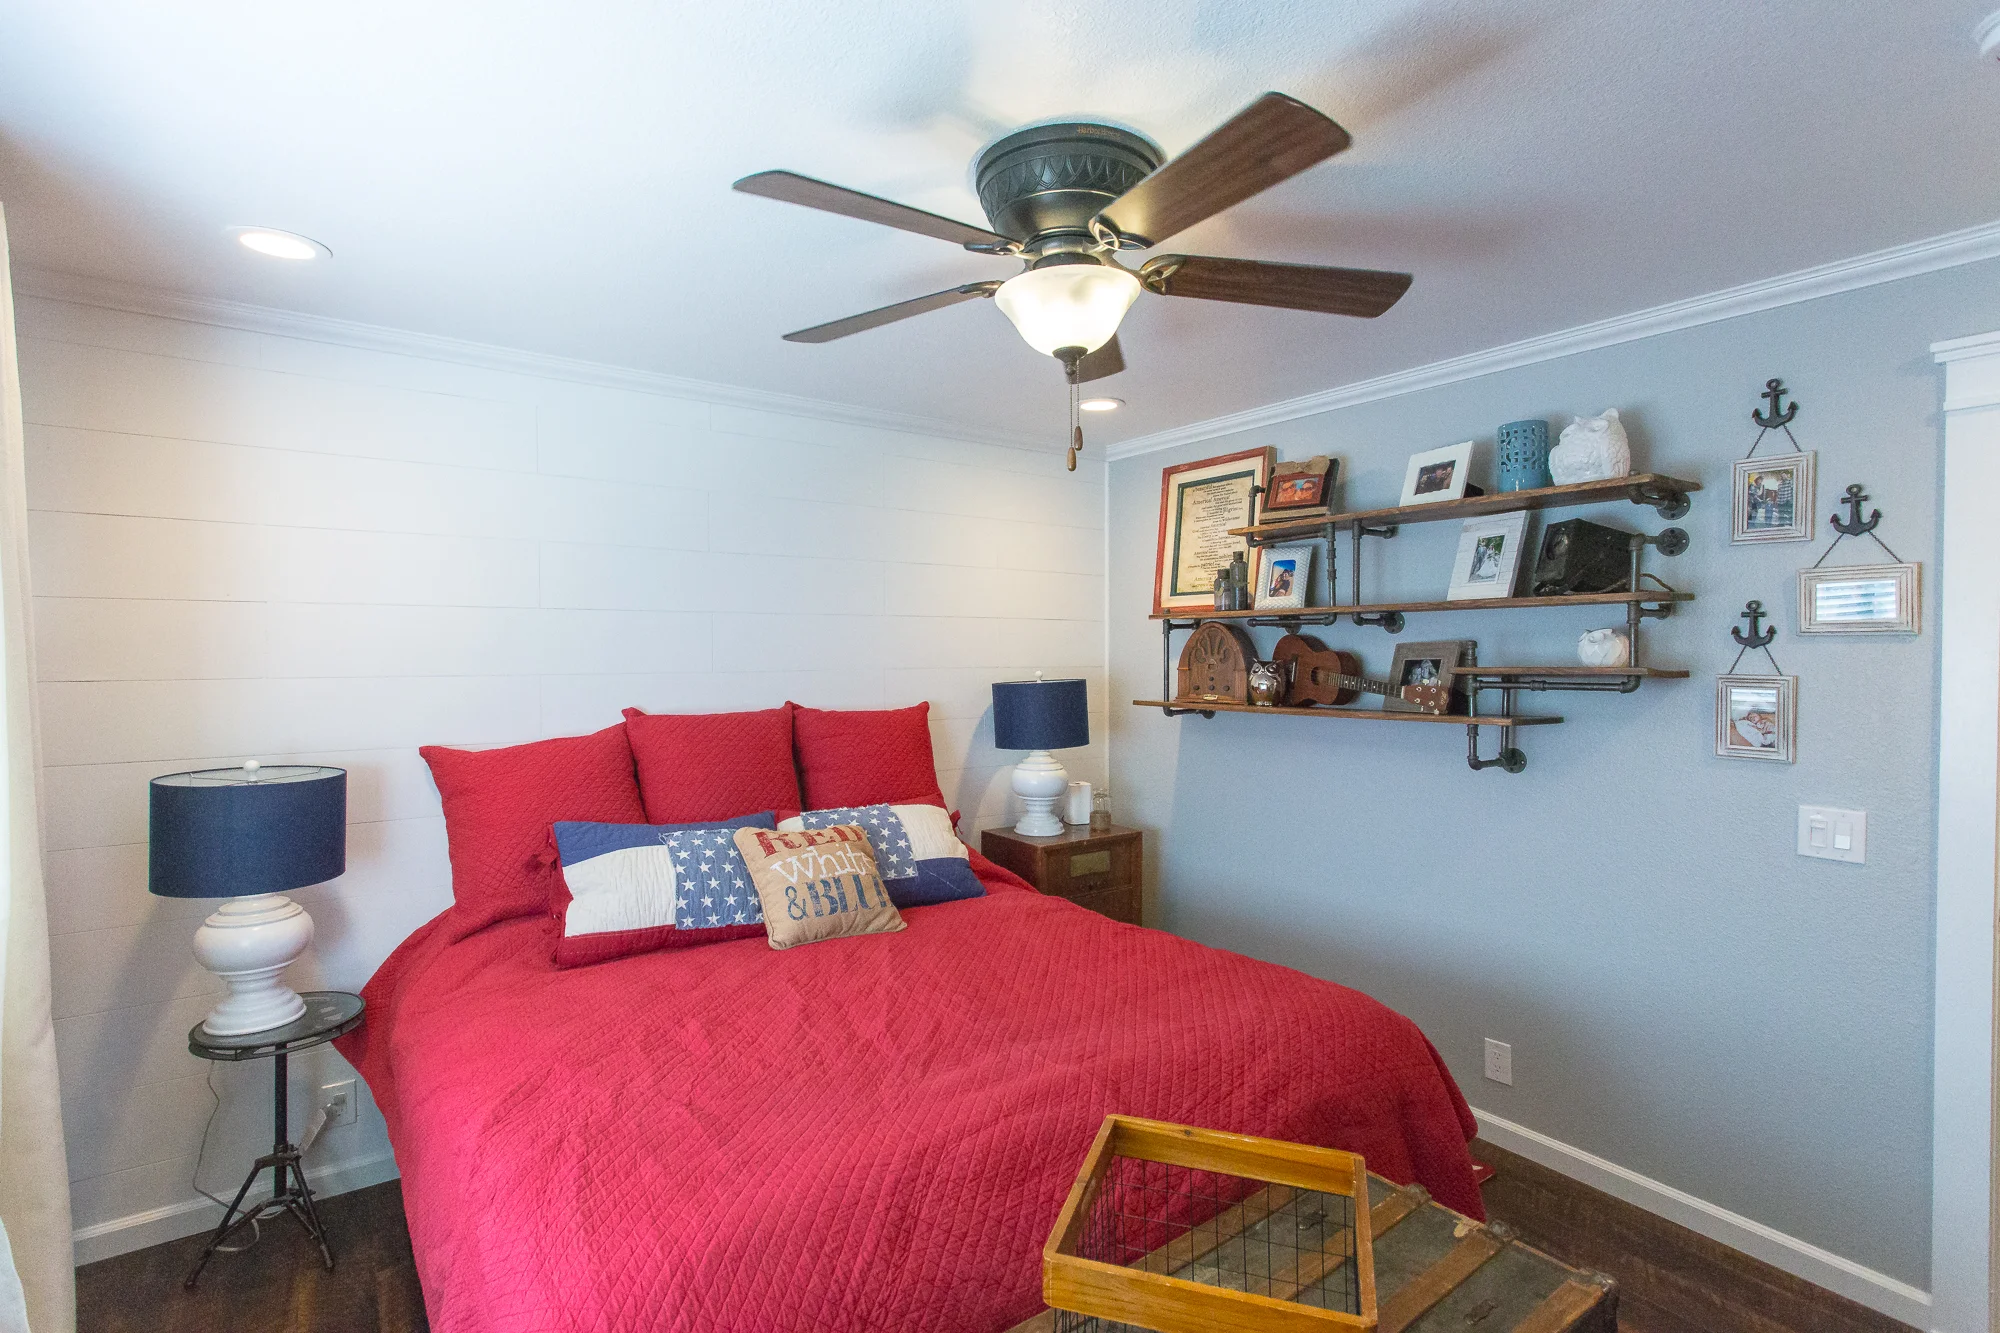
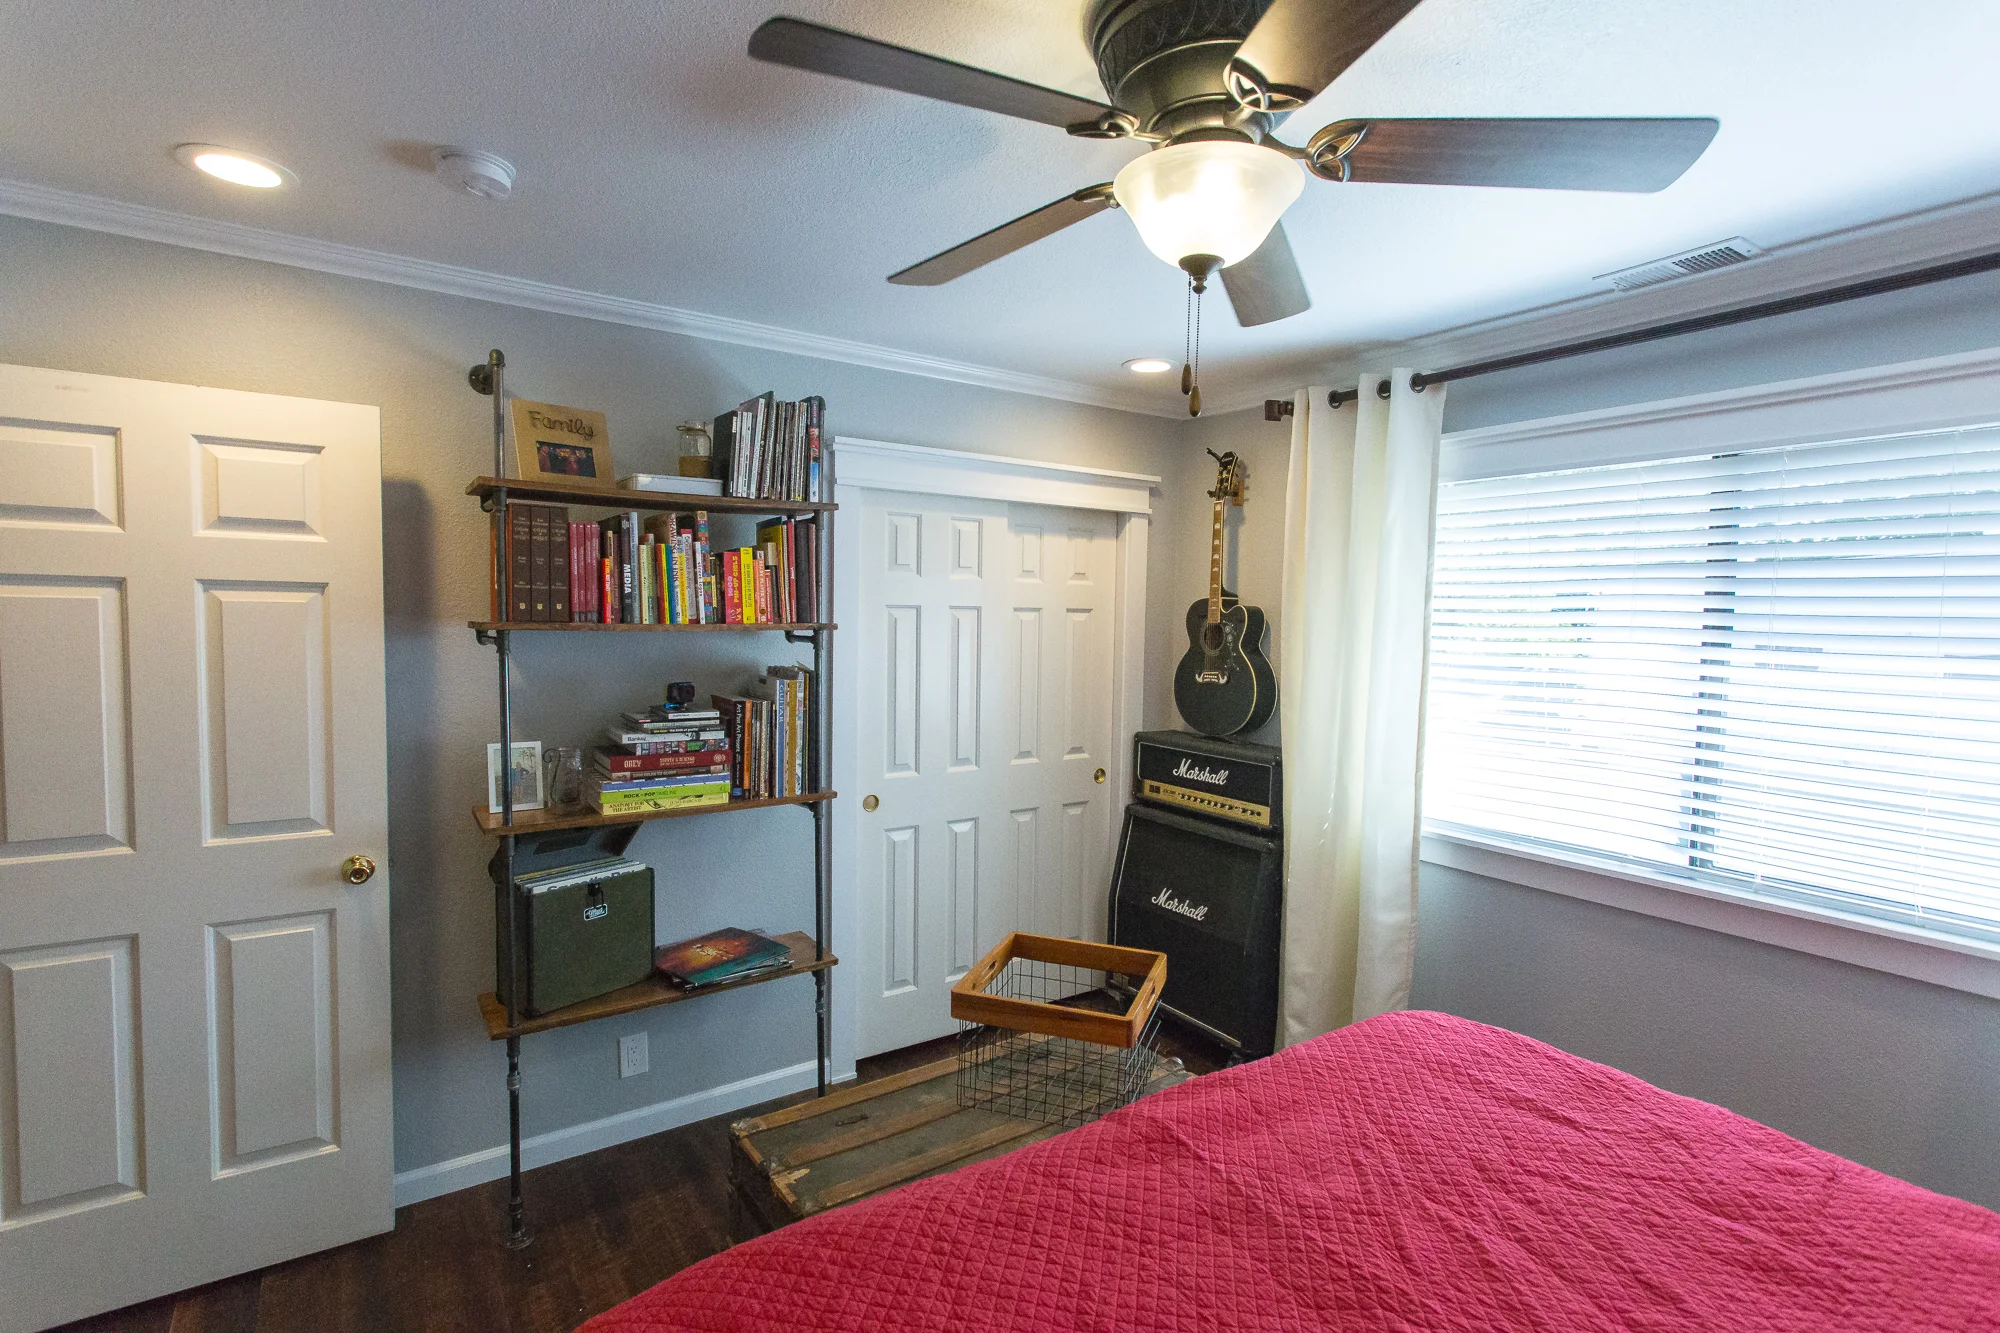
I started off by adding a 6" LED Recessed light to each corner of the ceiling. Every room in the house lacks lighting at night and this makes a huge difference. I have already added lights in most of the other areas in the home.
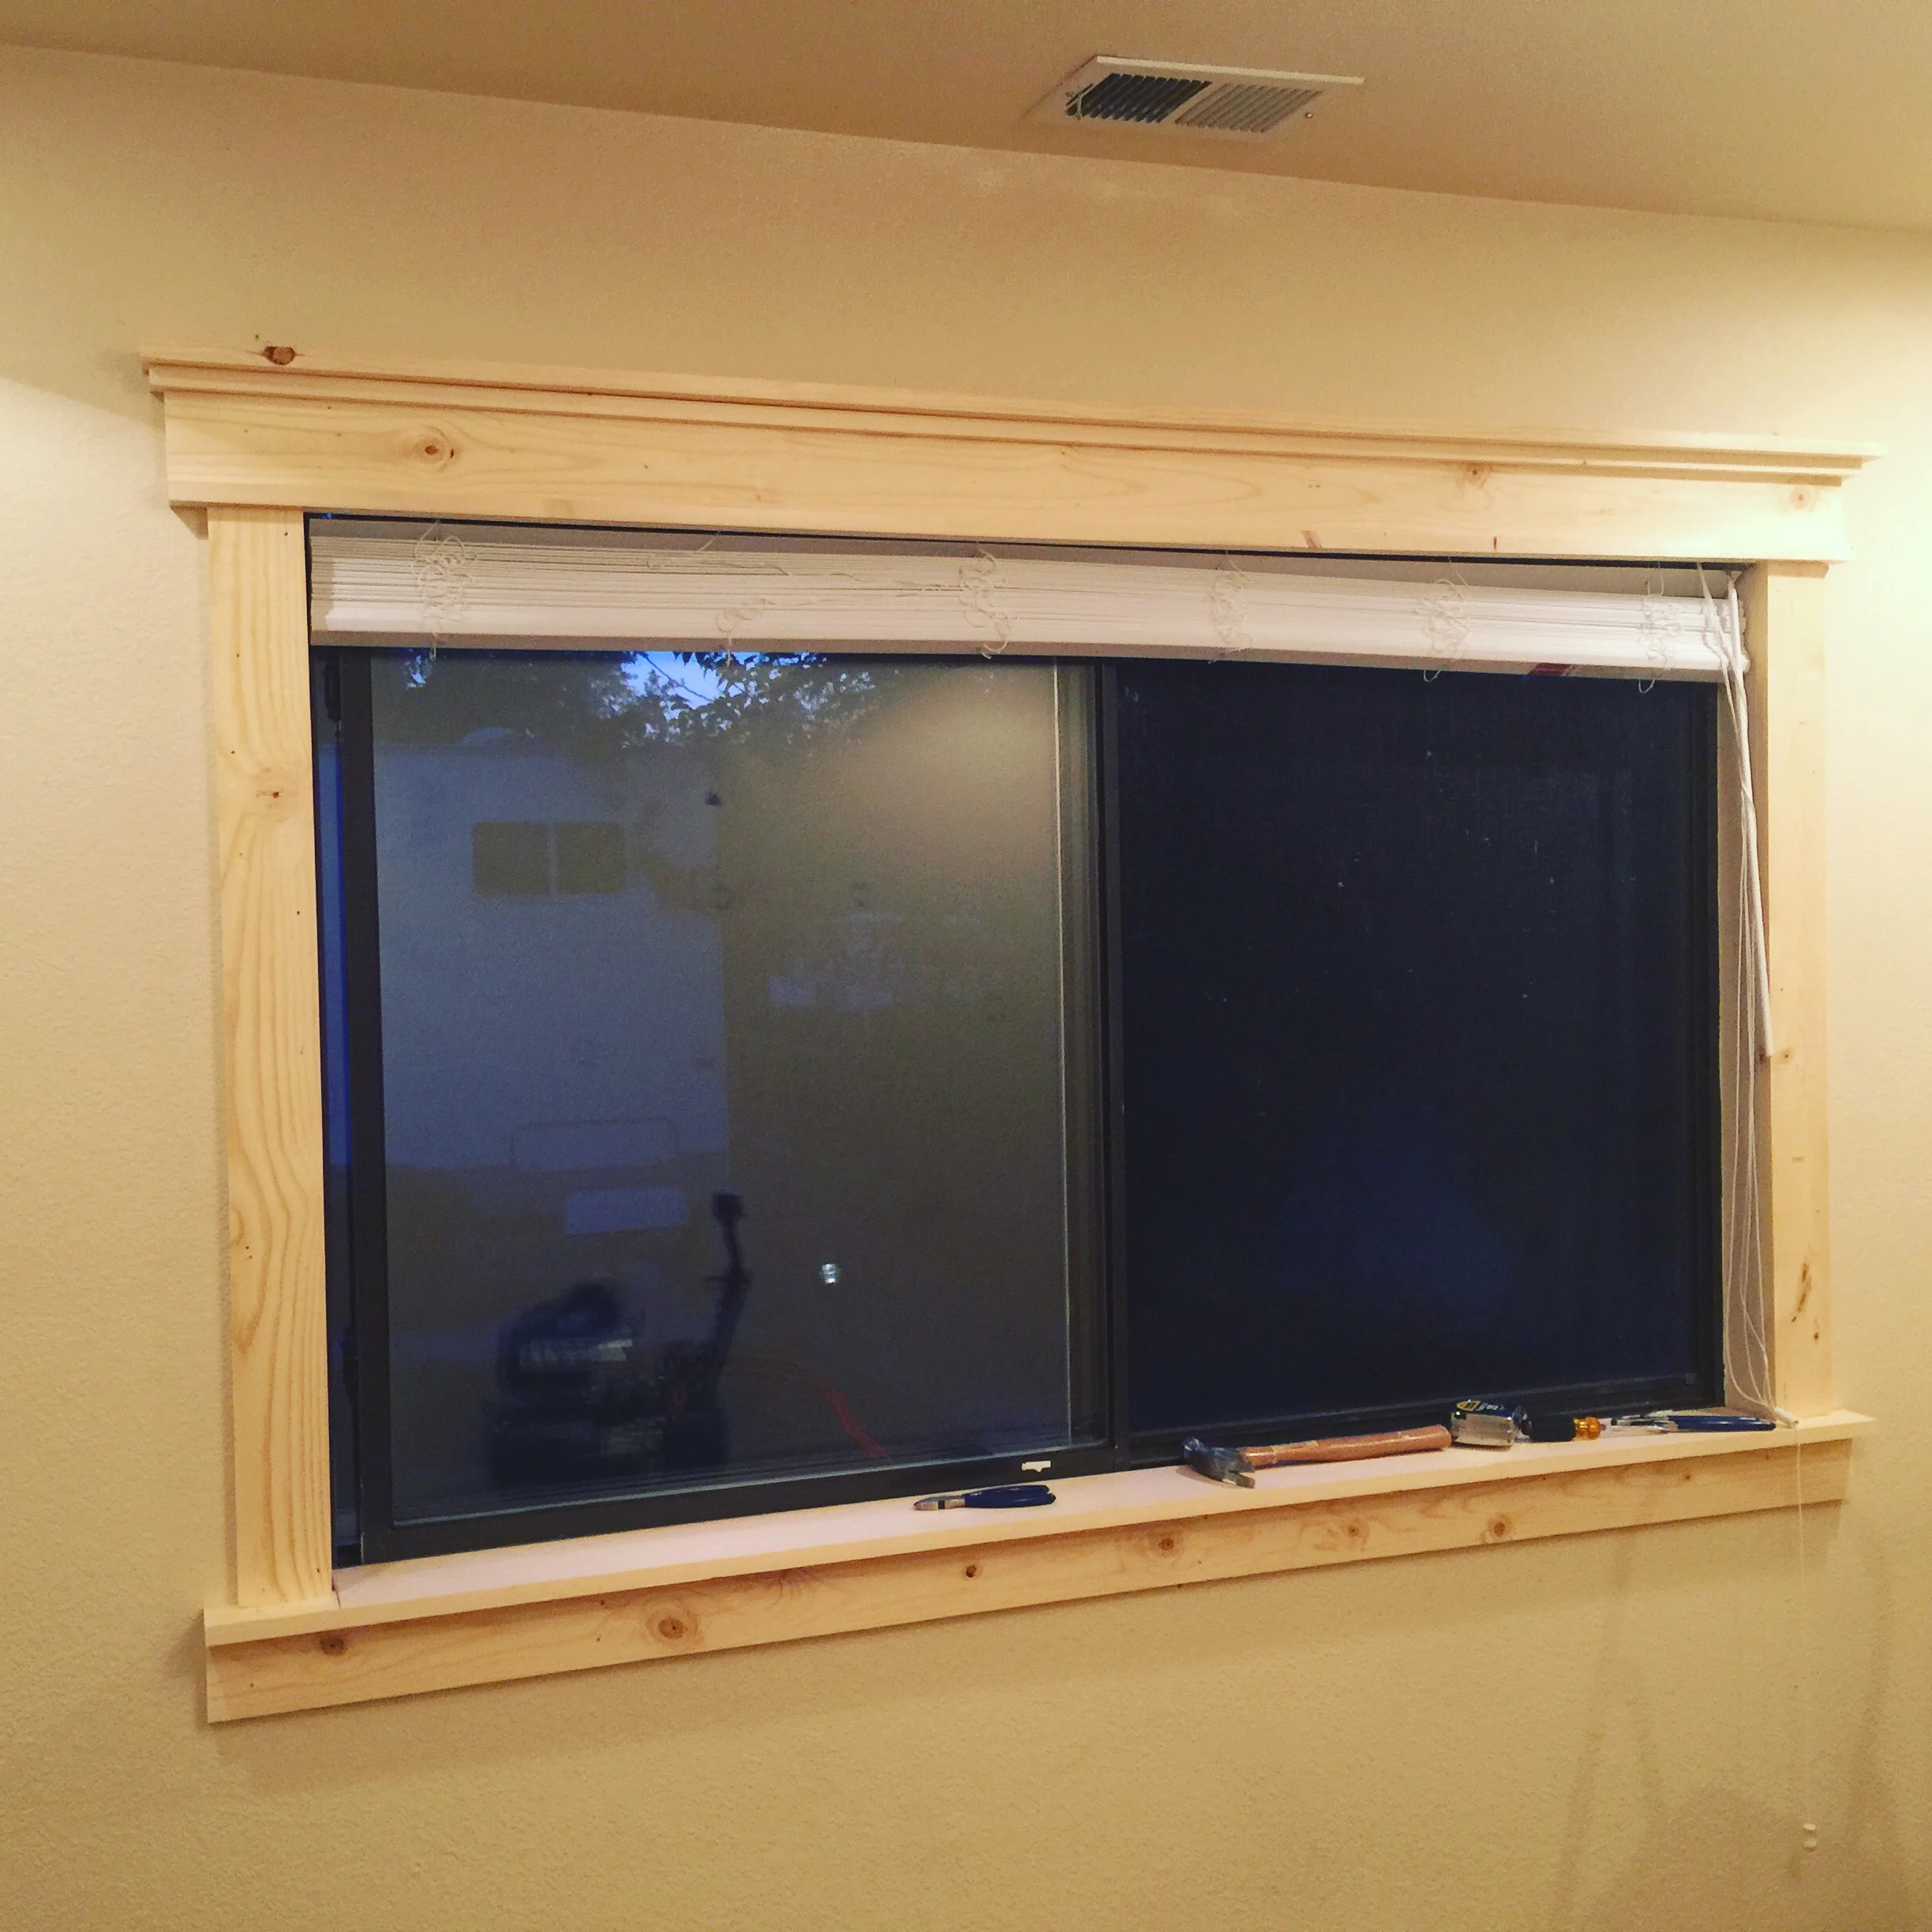
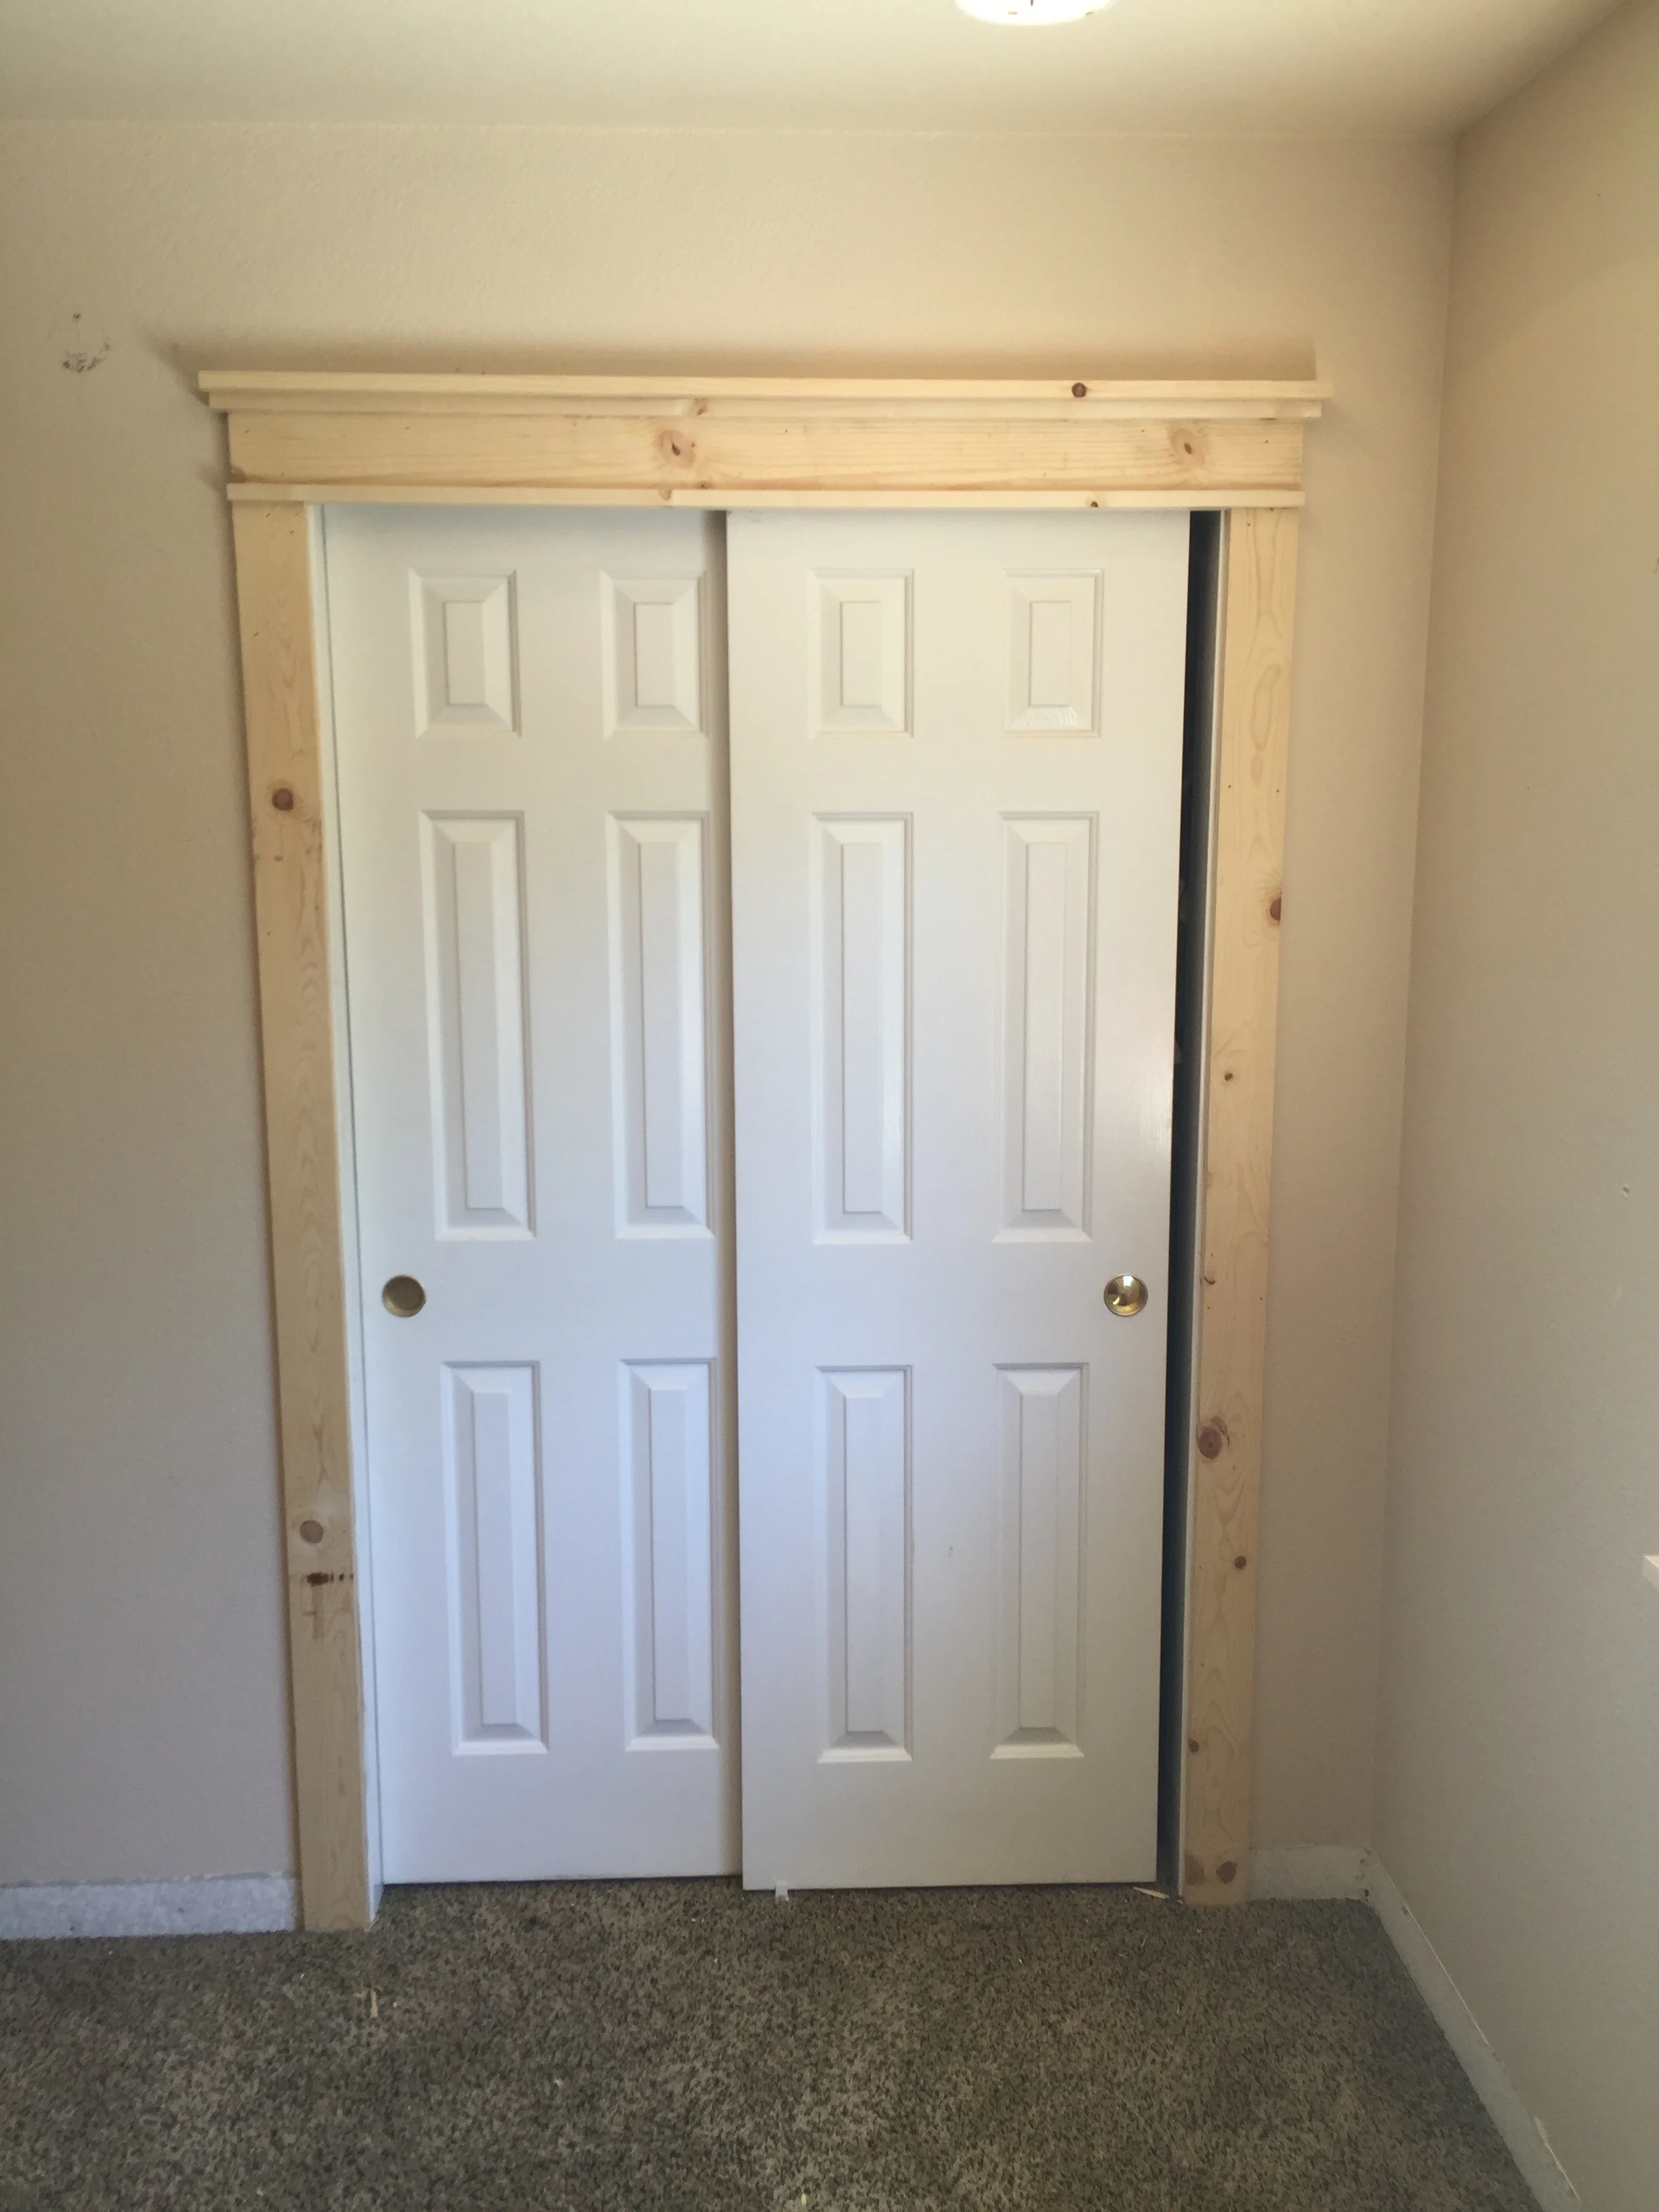
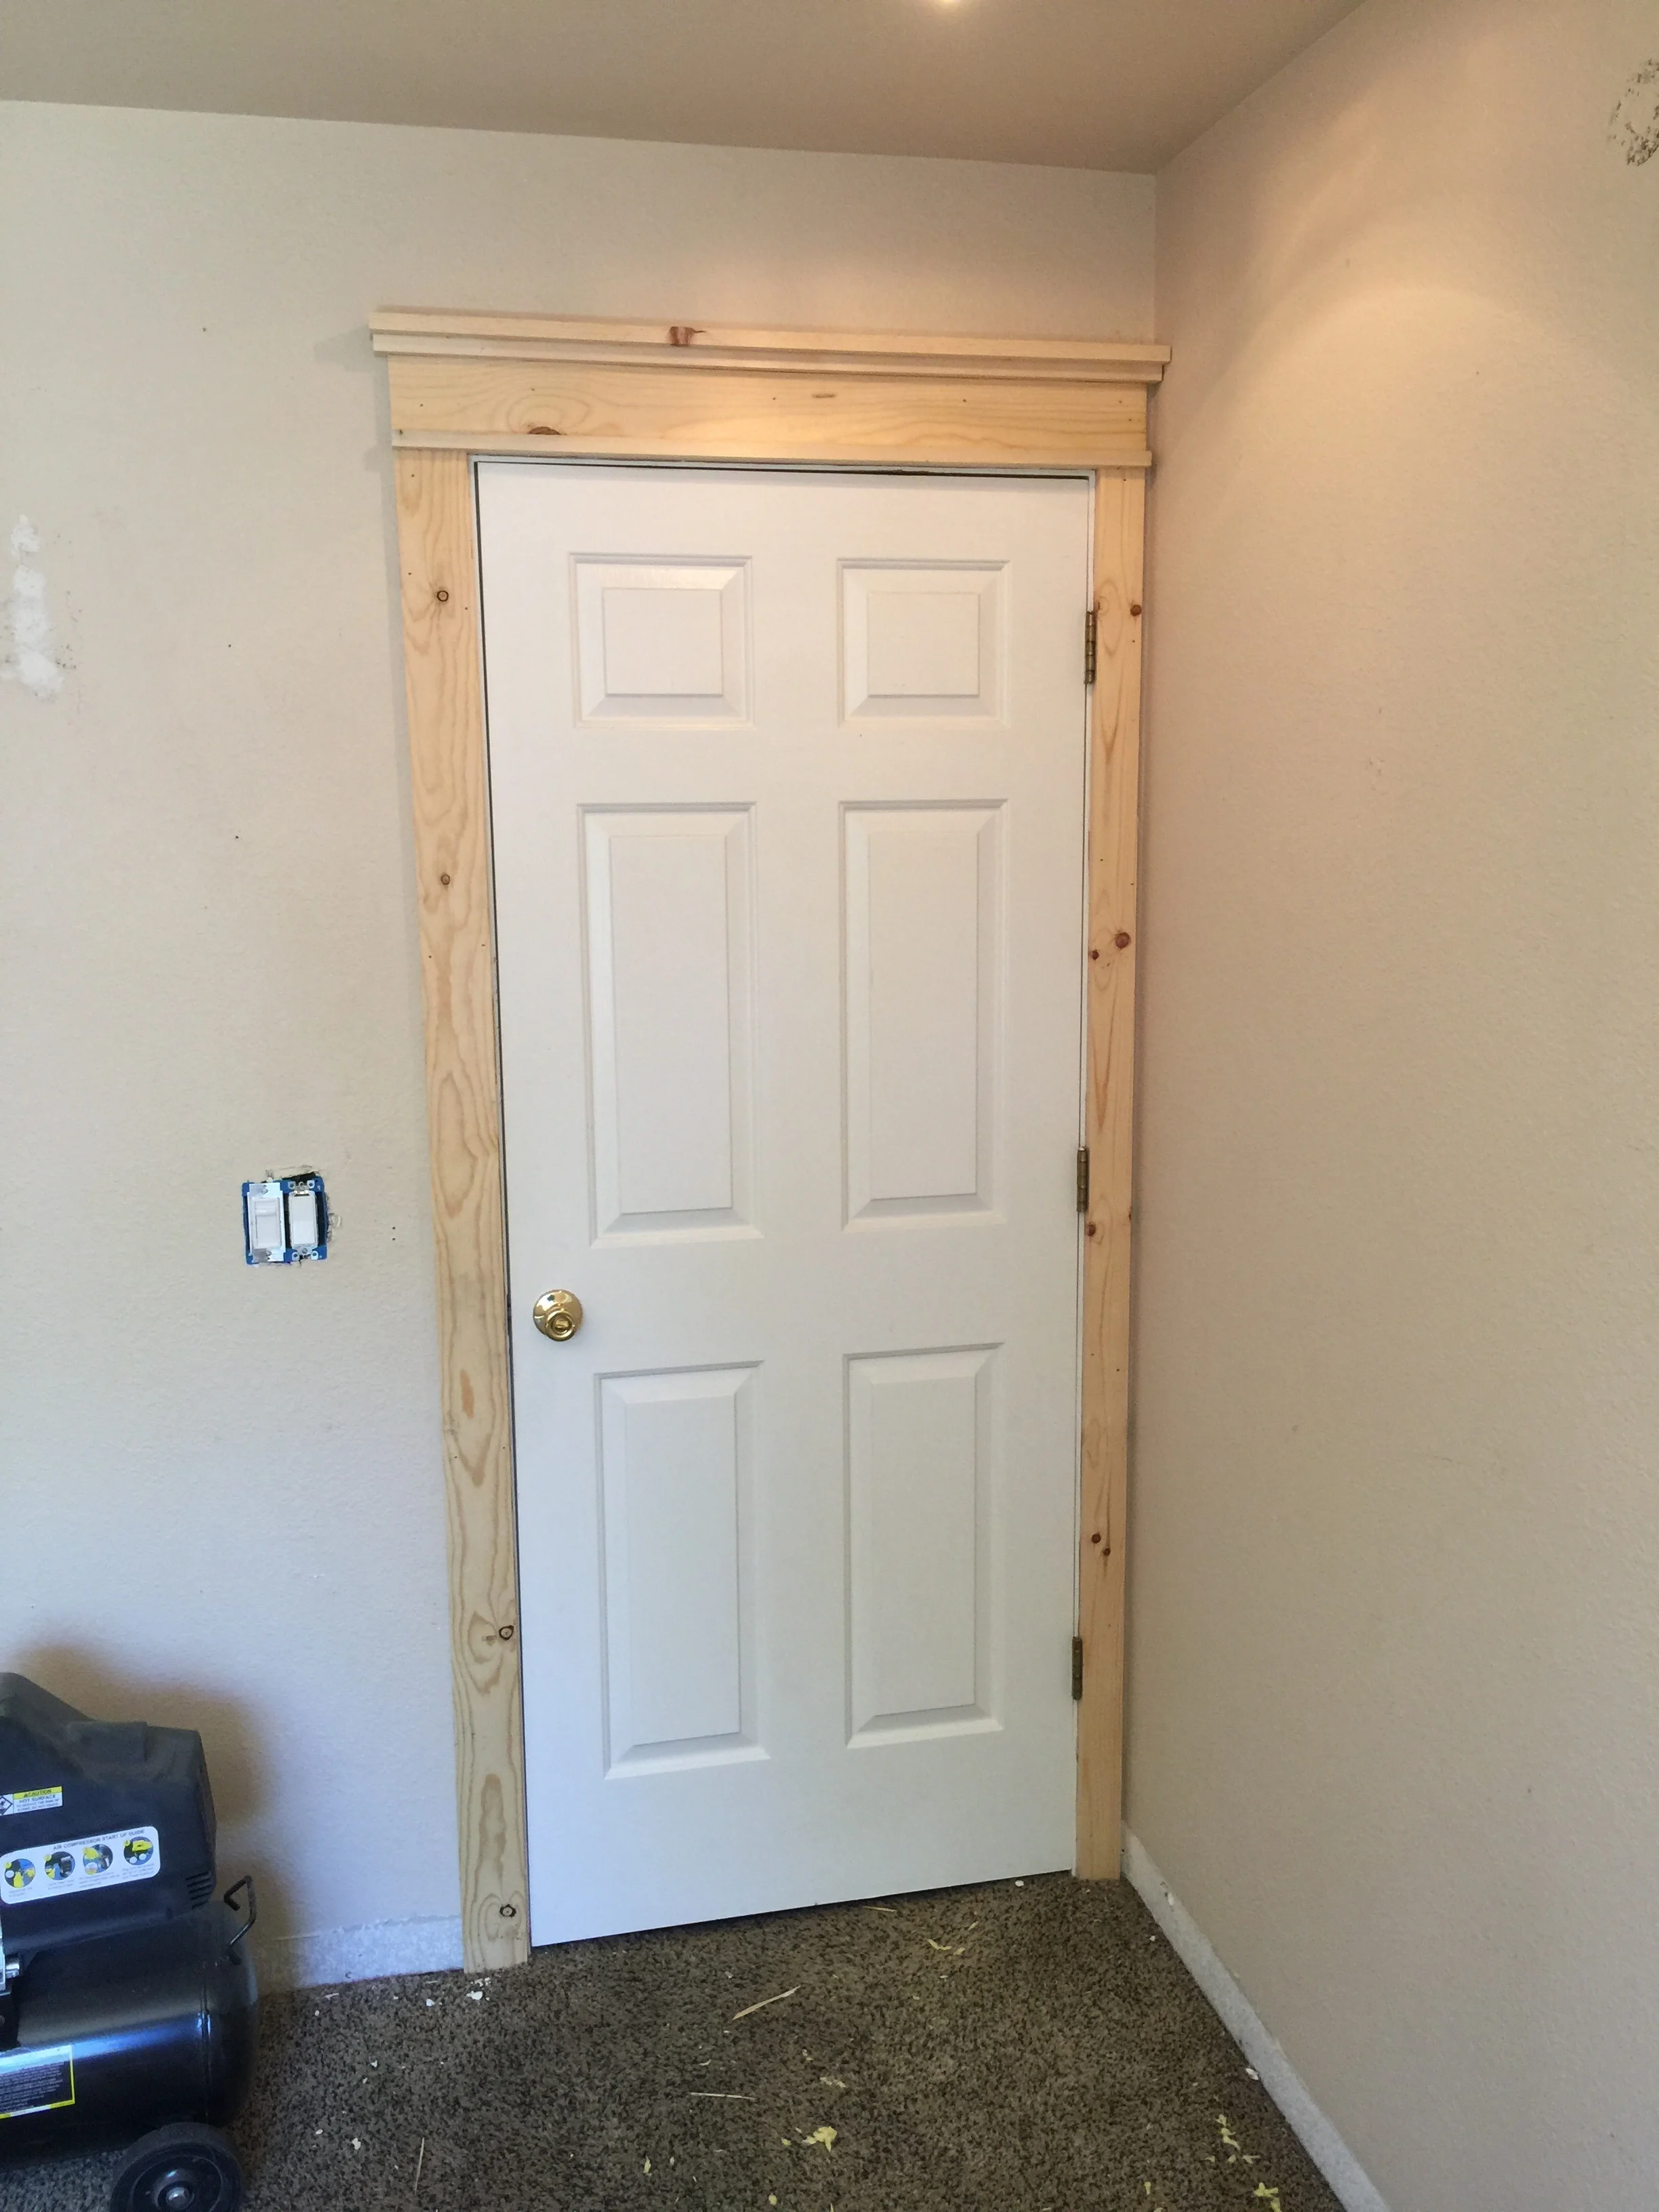
Next, My wife and I came up with a design that we were both happy with for the windows and door casings. I constructed the trim from pre-milled pine from the a big box store, then sanded, filled and caulked all the seams before paint.
In order to add some type of texture to the room and to set off the wall where the bed would be placed we decided to create a faux "ship-lap" wall. I took 4x8 foot sheets of 1/8" plywood and ripped them down on the table saw to 6"x4' planks. We then nailed them to the wall. We left all the nail holes exposed to create that rustic feel.
When we purchased the home most of the rooms walls were painted the same color as the ceilings. This is a pet pieve of mine because it makes the room feel so much shorter with no seperation. We decided to go with a gray eggshell paint for the walls and an eggshell white for the cieling and ship-lap wall. All of the trim was painted with a semi-gloss white to set it apart and make for easy dust cleaning.
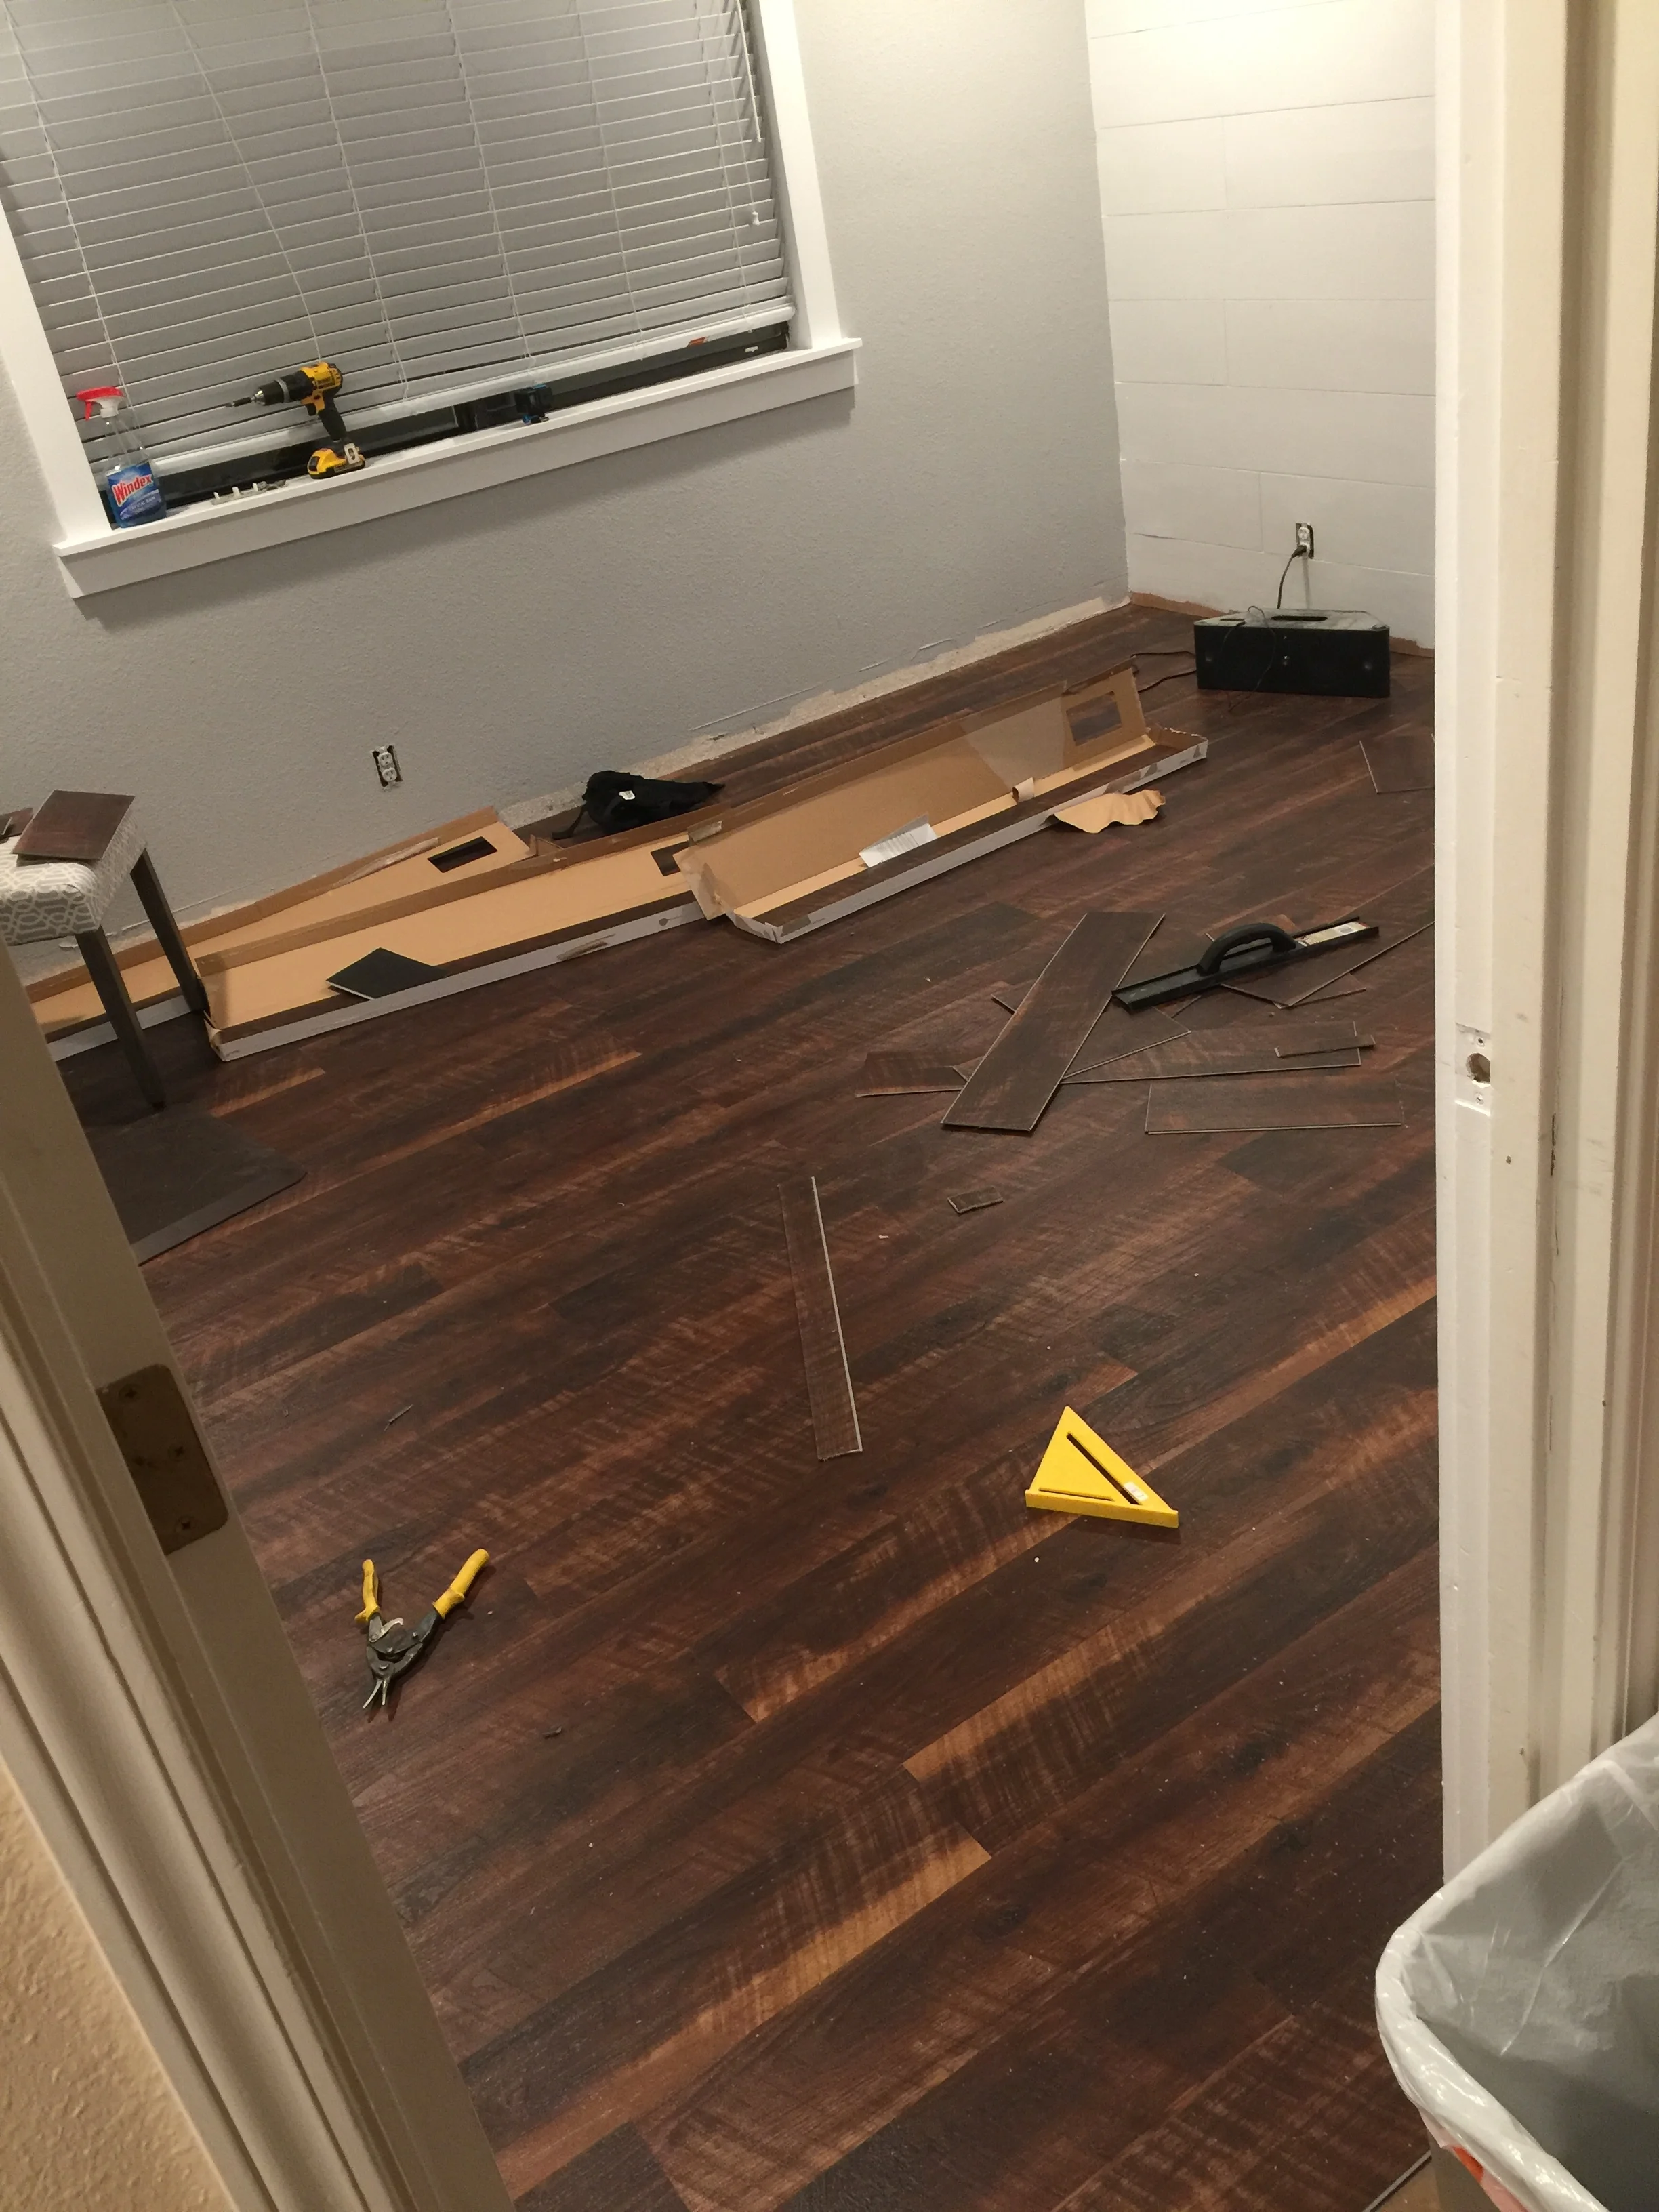
Next I laid down the floor. It is a vinyl flooring that has the pad and moisture barrier built into the underside of each plank. It is easilly installed by snapping together making it easy to get a room done in an evening after figuring out a good rythm.
From there we painted and installed crown moulding, base boards, and changed out all of the recepticleas and switches to the new style decora ones finishing off the room.
Make sure to check out the timelapse video of the renovation and please Like & Subscribe to my youtube channel for more project videos.
The next room on the list is the Nursery, stay tuned!

My Wife excited about the new lighting, my covered in spray in insulation from the attic...not so much.
Before